

Alright, welcome to my SharePoint Tech Blog. Hope you are enjoying our content.
Today's blog is about how to set up a Microsoft Planner web part for your SharePoint Page. Please note that you'll need to make sure the Modern View is turned on for your SharePoint Page before attempting to do the following steps.
The best part is you can add or customize web parts when you edit your modern page. It’s more like Lego blocks that you can place on your SharePoint Page. Plus, it looks cool!
In addition, some of the web part functionalities are limited to the Target Release program by Microsoft Office 365. You may not see the features below on your SharePoint Environment but it will be released soon as soon as it's available in your region.
Also Read: New Planner feature offers task management directly into SharePoint
Microsoft Planner is an Office 365 service that lets you create boards and add your team's tasks and assignments. On your Planner Board, users can add tasks into columns (or buckets). Buckets shows the stages of development, sprints, days of the week, and much more. The tasks can be moved around the board by drag and drop, so if you want to prioritize and shuffle the tasks, you will be able to accomplish it easily. Planner Boards is a perfect communication tool in Microsoft Planner Also,, you can switch to charts view for displaying the team progress.
Check out more about building teams, creating plans, updating status visually, assigning tasks, and more at Microsoft Planner Help.
- With the Planner web part, you can showcase board or charts and work with the plan right from the SharePoint page.
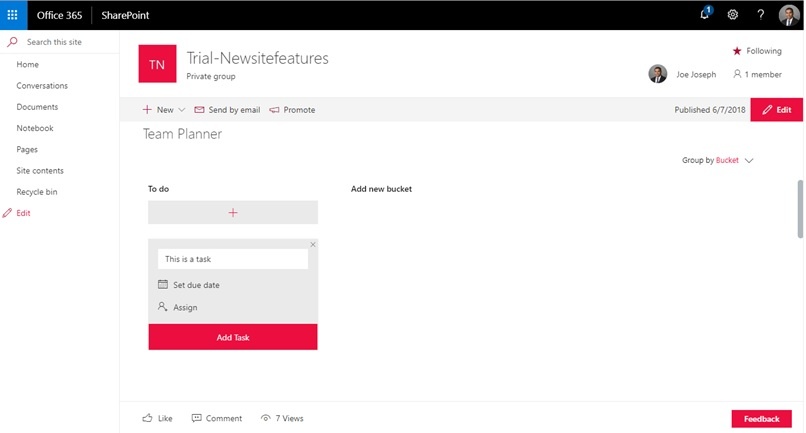
Add the Planner web part
- Go to the page where you want to add the Planner web part.
- If you're not in edit mode already, click Edit at the top right of the page.
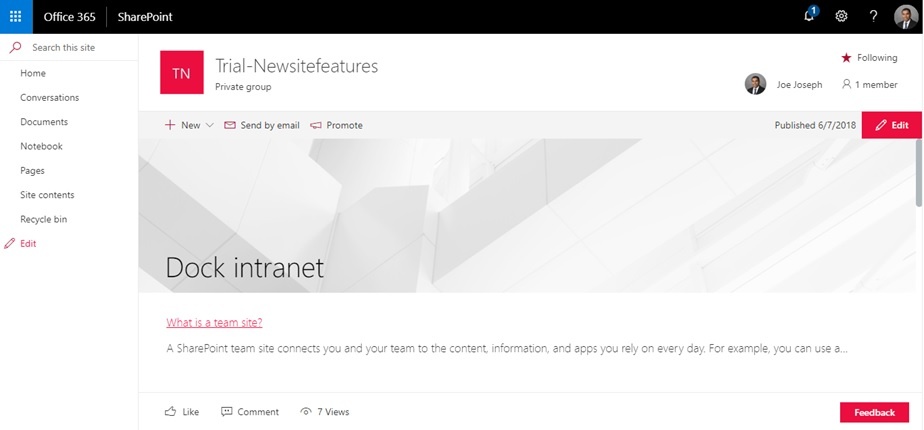
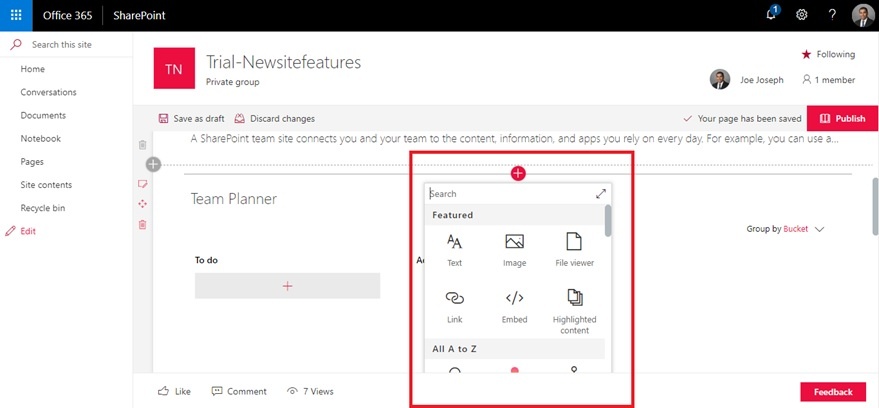
- Hover your mouse above or below an existing web part or under the title region, click the + symbol, and then select the Planner web part from the list.
- If you want to create a new plan, enter a new plan name under Plan, and then click Create.
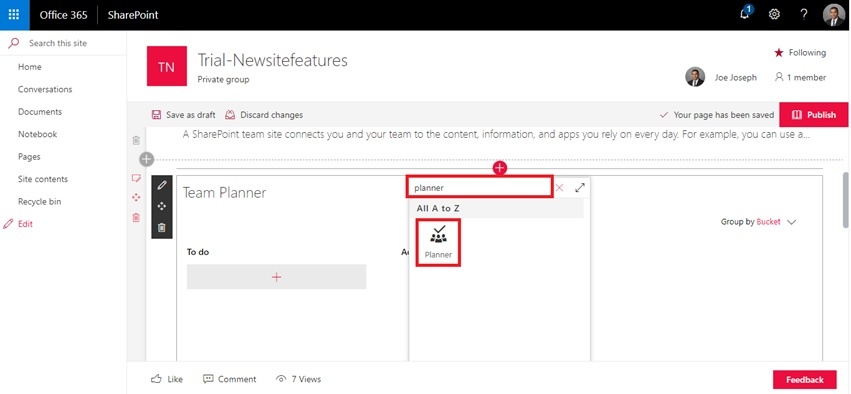
- If you want to show an existing plan, select the plan you want to use in the box under Select an existing plan.
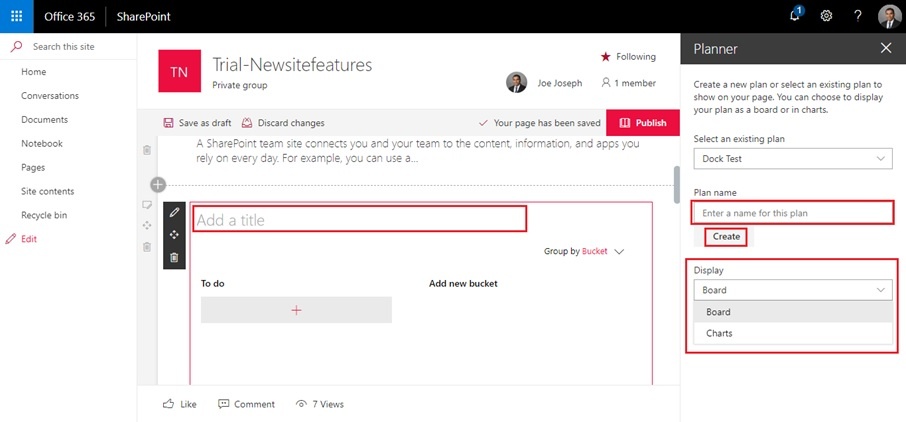
- Under Display, select whether to show your plan in Boardsor track your progress visually in Charts!
Voila, you just got your Microsoft Planner integrated to your SharePoint Site!